Packing your Artwork for Shipping: Video and Step-by-Step Guide
Watch this short video or follow the step-by-step instructions below.
A Step-by-Step Guide For How to Use Your StrongBox
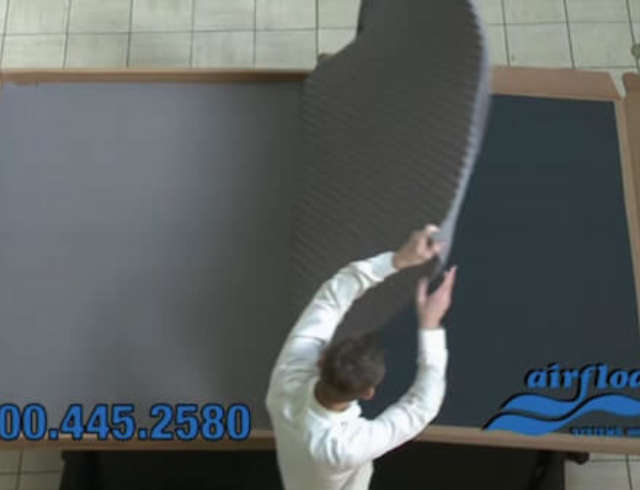
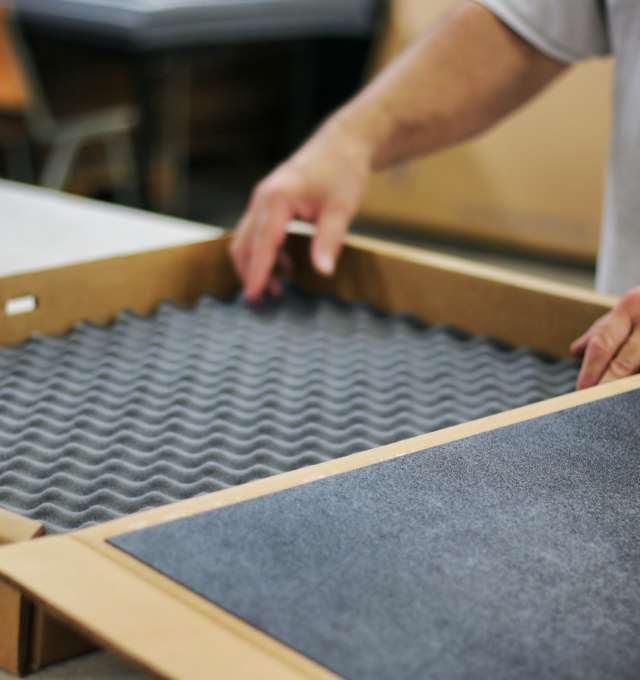
Step 1
- Open your StrongBox and temporarily remove the top layer of convoluted "egg box" foam.
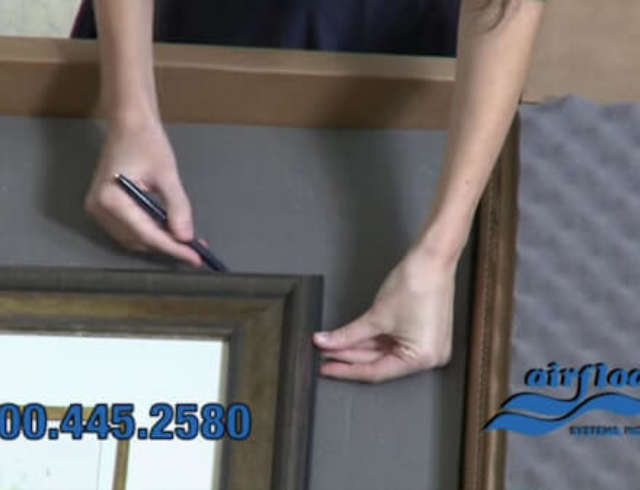
Step 2
- Lay your artwork on the perf-pack perforated foam (middle foam layer)
- Use a marker to draw an outline of your artwork on the foam.
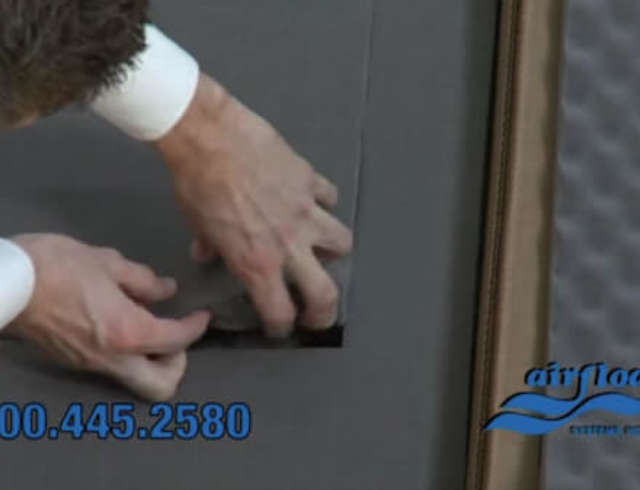
Step 3
- Remove your artwork so that you can see the perf-pack foam with your markings
- Tear out the perforated foam within your marked outline to create a custom window to fit the artwork.
(leave in place any perf squares that have a line drawn through them. This will result in a custom window that is slightly smaller than your artwork and will ensure a snug fit.)
- Do not discard the removed perf-pack foam. If you choose to re-use your StrongBox to ship a smaller art piece, replace the removed perf-pack foam into the window then repeat steps 2 through 6.
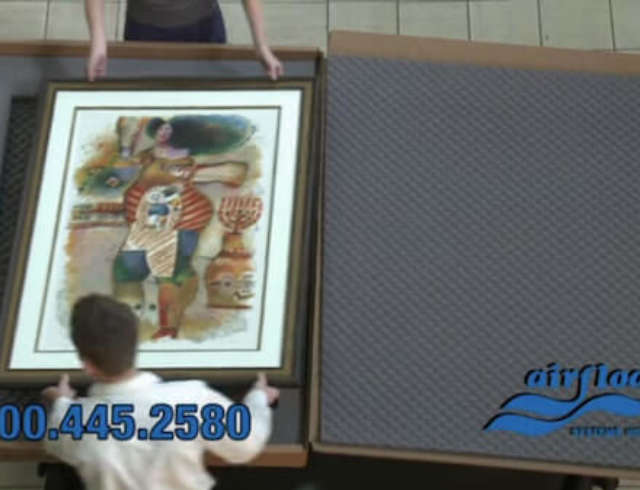
Step 4
- Place your artwork inside the custom "window." It should fit snuggly with no room for movement during shipping.
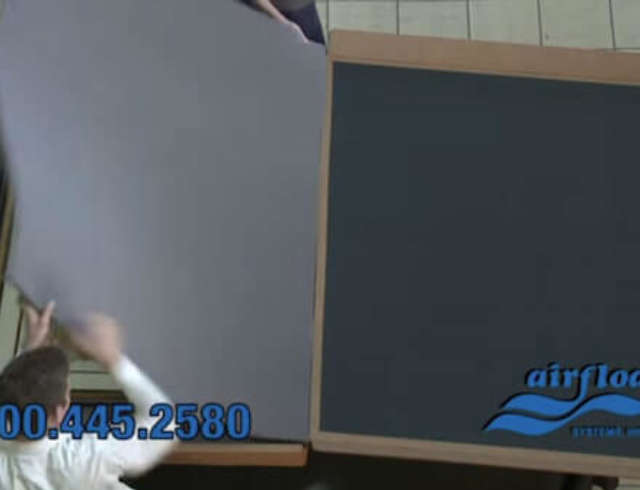
Step 5
- Replace the top layer of foam with the convoluted side facing the artwork.
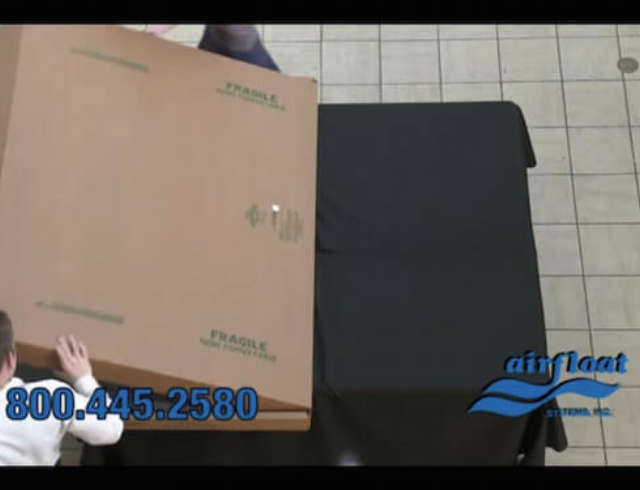
Step 6
- Close the StrongBox shipper and securely tape the closure flap.
- Tape down the carrying handle (if present) to eliminate the chance of it getting caught in shipping equipment.
If your StrongBox was shipped to you within an outer sleeve, it may be used to preserve the appearance of the inner StrongBox during transport. However, the sleeve is not required for protection of the artwork and may result in additional shipping cost due to added weight.